


6 Creative Ways to Take a Portrait of the Moon
June 27, 2017
The Moon is not very dynamic itself, and given similar equipment and conditions, Moon shots taken by different people can look very similar. You’ll need to get creative to make your Moon photo stand out from the crowd.
Since the biggest, brightest, and super-est Moon since the 1940’s is approaching us for 2016 - now’s a great time to take a portrait of our lifeless but loveable satellite. Here’s a bunch of ideas I’ve come up with for you to get those creative juices flowing.

1. Colour Enhancement
Use stacking if possible to increase the signal and reduce noise in your photo, then use your processing software to increase the saturation and colour balance to bring out the Moon’s natural blue-green hues. The colours represent the chemical composition of the lunar surface itself, and adds a new level of detail to your Moon portrait.

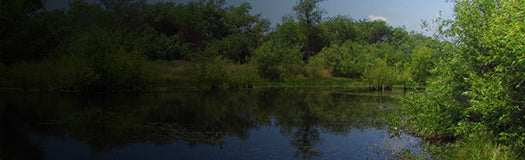
2. Setting or Rising Landscapes
Before it rises or sets completely, the low hanging Moon can be spectacularly dramatic against foreground landscapes and cloudy horizons. Consider using the Moon to set off a striking night landscape photo.
![]()
3. Transits & Occultations
With some planning you can line the Moon up with the International Space Station, or perhaps with planes, helicopters, drones and birds. You can even use people if they are at a high vantage point, or the Moon is low enough to line them up on the horizon. Have a think about what you can stick in front of the Moon.

4. Earthshine / High Dynamic Range
Early on as the Moon waxes, or later when it wanes, the “dark” side glows faintly with the Earth’s blue reflection shining back at it. It’s usually best around 15-30% phase, taken around sunset. You’ll need to take 2 separate exposures for each side, then composite them in your editing software to combine as a high dynamic range image.

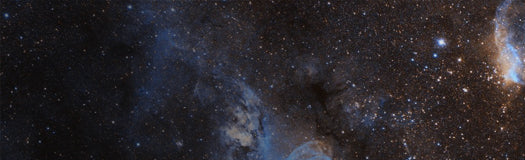
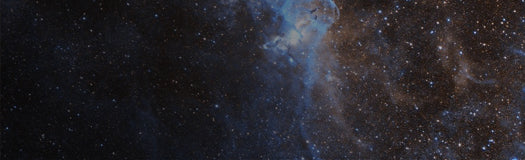
5. Adding a Star field
If you’d like to photograph the stars around the Moon, you’ll need to wait for it to move out of the way first which could take a week or more. Use a planetarium app to determine where the Moon was when you took a photo of it, then return to that area the next week to capture the stars alone. Composite the Moon portrait onto the star field in your editing software - bonus points for correct astronomical placement!

6. Inverting the Moon
Although already stunning, astrophotographers sometimes invert the colours on images to make things easier to see. An inverted Moon photo turns the cold rocky surface into a delicate organic pattern of lava flows, ejecta, and craters that appear in a new light when using this method. You’ll find yourself looking around the surface again with new eyes!
I hope that gives you some ideas for your next Moon portrait. You can even try combining some, or all of these idea for effect.