


How do I use my microscope for photography?
November 24, 2008
There are several ways your microscope can take photos.
The first method is to use a microscope T-adapter or tube adapter. These are available as an aftermarket accessory and either will have a nosepiece for the microscope’s eyepiece drawtube, a tube that fits around and clamps to the eyepiece drawtube, or a specialized threaded fitting that screws into the eyepiece housing of a particular microscope.
The threads on the T-adapter will fit into T-rings for film or digital SLRs. Since each brand of camera has its own specific thread size or bayonet type, you need to get the proper T-ring: Canon has its own T-rings (two of them), Nikon has its own T-rings, Minolta has their own specific rings, and so on. Any camera store will have T-rings for the most popular makes.
Attach the T-ring to your camera, then to the scope. Add a shutter release and the camera is now ready for photography. Use lower powers for bright but small images and higher powers for a larger, dimmer images. You may see some vignetting.
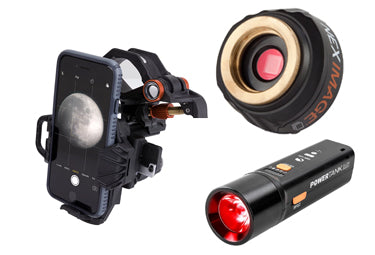
Another way is to use a point-and-shoot digital camera with the universal digital camera adapter or a similar clamp-type adapter. This will work with many different scopes. Here the camera is held by the adapter behind the scope’s eyepiece. Attach the adapter’s clamp to the eyepiece assembly, then the camera to the platform on the adapter. You will have to make adjustments to the universal camera adapter to properly position the camera lens in the emerging light beam from the eyepiece and focus it. This is easy to see with the camera’s preview screen. Try different microscope powers and/or zoom settings of the camera and eyepiece to get the view you want. There may be some vignetting.
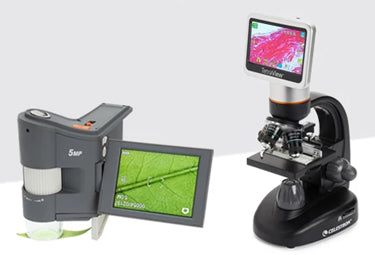
A third option is to use a digital imager. These are CCD cameras with nosepieces that fit into the microscope’s eyepiece drawtube. Output is to a computer so the image is viewed and captured with software.
Updated 12/18/13