Setting a Smartphone Camera Lens for Use With the Celestron Smartphone Adapters
September 27, 2022

When smartphone digiscoping was first invented, mobile phones had only one forward-facing camera lens. Even when the first smartphones were launched, these too only had a single forward-facing lens that was used for all the features of the smartphone’s camera. Today’s smartphones, with their very sophisticated cameras, now have as many as four, each with its own unique function and each usually controlled by the sensor that guides the camera to an optimal image when in use. This is a superb feature for ordinary smartphone camera usage as it produces excellent photos with minimal effort.
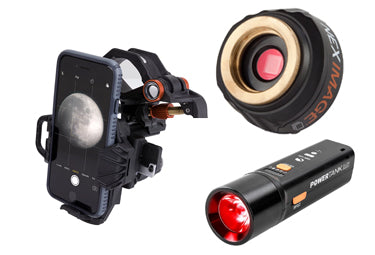
However, when you have a smartphone camera aligned with a particular attachment – such as the Celestron NexYZ Smartphone Adapter of the NexGO Smartphone Adapter, this can be a challenge as the smartphone camera’s sensor may suddenly shift from the lens it was initially using to another of its lenses which isn’t aligned with your smartphone adapter. Fortunately, it is possible to indicate the lens you wish the smartphone camera to use on many smartphones. The trick is to know where to look in the settings.
As with all such products, it is always best to check the instruction guide for your smartphone to discover where this feature control is located. However, as Samsung Galaxy smartphones are very common, we have taken the liberty of documenting how this control is achieved on a popular model: the Samsung Galaxy S21 Ultra.
Step 1. First, open the smartphone’s camera and locate the “More” option just below the image on the right-hand side and select it.

Step 2. This will open an opaque “More” option screen over the image shown by the camera. Locate the one identified as “PRO” and select it. This will place the smartphone camera in PRO mode, giving you complete control of a wide range of camera settings.
In the Samsung Galaxy S21 Ultra model we are using for this example, the “PRO” icon is located in the top left of the icon group.

Step 3. The PRO mode camera setting you’re most interested in for this purpose is the lens selection setting. This is located in a long oval shaped box near the bottom of the image. It contains the letters “UW,” “W,” “T,” and “ST.”

We have found that “W” (Wide) is a very good lens to select for smartphone digiscoping. However the others have their uses as well, and we encourage you to try them all to discover which one works best for your particular application and preference.

