


Exposure Time in Celestial Photography
July 27, 2023

Exposure time in celestial photography is a multi-faceted concept with different variables for different types of astrophotography. As a beginner, you may find all the options confusing. But approach the topic one case at a time, and you’ll soon find order in the cosmos!
Each style of photography has its own set of guidelines that will point you in the right direction. Follow them, and you’ll quickly achieve results you are proud of. One thing that makes digital astrophotography so exciting is that you can see your results immediately. If you need to adjust, you can do so with the very next exposure.
Tripod-mounted DSLR Wide-field Photography
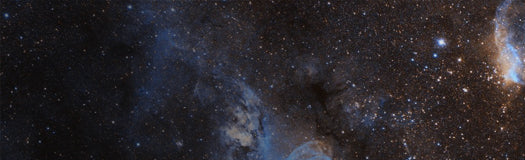
The most basic type of astrophotography is wide-field constellation or Milky Way photography with a tripod-mounted DSLR using a normal or wide-angle lens. Here, there are only two constraints; how bright the sky is and how long the exposure can be before the rotating sky streaks the individual star images. Ideally, we want stars to be pinpoints, not elongated streaks, so there is a definite limit to the exposure before the star is no longer a pinpoint.
A formula for determining the maximum streak-free star exposure for your particular camera setup is known as the “500 Rule”. Here the shutter speed is determined by calculating:

where SS = shutter speed, CF = the camera sensor’s “crop factor,” and FL = the camera lens’ focal length in millimeters.
The crop factor for “APS-C” camera sensors like those used in the popular Canon Rebel camera is 1.6. “Full-frame” cameras, or those whose image sensor is the same size as the legacy 35mm film frame, have a crop factor of 1.0.
Applying the 500 rule to a Canon camera like the 5Ti with an APS-C sensor and a 50mm lens, the calculation is as follows:

SS = 6.25 seconds
Thus, this untracked tripod-mounted camera combination will yield pinpoint stars as long as your exposures do not exceed 6.25 seconds.
Applying the 500 rule to the same camera using a 28mm lens yields a streak-fee exposure of 11 seconds.
Full-frame cameras like the Canon 6D, with their larger sensors, are more forgiving and can expose longer without star streaking. The 500 rule applied to a Canon 6D full-frame camera with the same 50mm and 28mm lens as the 5Ti yields 10 seconds and 18 seconds of exposure without star trailing, respectively.
These calculations become more forgiving closer to the celestial pole because the apparent motion of stars is diminished near the pole until it is almost negligible at Polaris.
The second exposure constraint on wide-field astrophotography is sky brightness. First, a general rule of thumb about exposure time vs. sky brightness: for a lens aperture of F/2.8 and ISO 1600, you can expose for 4 seconds under bright urban skies, 30 seconds under moderate light pollution, and 90 seconds under truly dark skies. Note that most camera lenses with an F/1.4 or wider aperture produce poor star images at wide-open aperture but produce pinpoint stars across the field of view when stopped down to F/2.8.
However, the sky conditions at a specific observing site rarely follow a textbook example, and the best guide to maximum exposure time is to monitor the camera’s displayed histogram for an exposure. Since the photo is mostly a dark sky sprinkled with tiny stars, the histogram will be an average of the full frame, emphasizing the sky background, not the bright stars. Thus, the histogram will indicate maximum useful exposure before the bright sky background degrades the image. A histogram typically displays the exposure information in a bell-shaped curve. For best image detail and ease of image processing, the peak of the curve for a night sky exposure should not extend more than 1/3 from the left of the histogram scale.
And another unofficial astrophotography tip from someone who has been there and done that… turn off the camera’s flash!
Wide-field DSLR Astrophotography with a Camera Tracking Platform
When you place your camera on a tracking platform, the 500 Rule no longer applies. The camera tracker follows the stars, so you can extend the exposure as long as it is practical without encountering star trailing.
Under very dark skies, Milky Way photography using the camera’s programmed 30-second shutter speed, or longer when using an accessory intervalometer, is possible. Longer exposures allow lower ISO settings, resulting in cleaner, less “noisy” images. You can also use slower lens F/ratios to increase image sharpness. Repeated exposures of the same starfield allow you to stack the images in the freeware Deep Sky Stacker to reveal even more deep-sky detail.
When you use longer exposures, pay attention to the ambient temperature. Heat creates more image noise in long exposures; thus, you can expose longer on a cold winter night than on a warm summer night. In-camera noise suppression can also help. With this feature enabled, the camera automatically takes an equal exposure length “dark” image after each live exposure and uses the dark image to subtract noise from the live image.
Although you can now achieve longer exposure star streak-free images, you’ll have to guard against overexposure of some targets. The core of the Andromeda Galaxy, or the puffy nebulosity of the Lagoon Nebula, for example, can quickly become saturated and overexposed into a white mass. Once the subject is saturated, you can’t recover overexposed detail. Additionally, if you overexpose the sky background, you’ll wash out stellar detail.
Considering the variables of sky brightness, exposure, and lens selection, the camera’s histogram function is the best indicator of maximum exposure using a camera tracker. As with tripod-mounted astrophotography, the peak of the exposure histogram’s bell curve should not exceed 1/3 the way from the left of the histogram scale.
On dark targets or high F/ratio photographic systems, the image histogram peak may never reach the desired 1/3 point before electronic image noise becomes objectionable. Generally, DSLR exposures of four to five minutes or longer, particularly at high ISO settings, will be noticeably degraded by image noise and appear “grainy.” You’ll need to determine the maximum acceptable exposure time before image noise becomes objectionable, then use that exposure time while accumulating many sub-exposures stacked using the freeware program Deep Sky Stacker.
There are advantages to using stacked shorter-exposure subframes over fewer longer-exposure subframes. If the telescope is bumped or a bright light flashes the telescope, the loss of a single short exposure subframe is negligible on the total exposure. Remember, the total accumulated exposure time is the essential factor. There is little difference in image exposure density between ten stacked 10-minute exposures and 50 stacked two-minute exposures. However, total image noise is reduced by the square root of the total number of images stacked, so 50 stacked two-minute images have seven times less noise than a single two-minute image. The result is a smoother, more pleasing image.
Lunar and Planetary Photography with a DSLR Camera
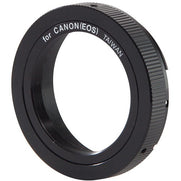
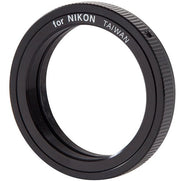
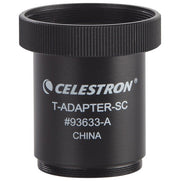
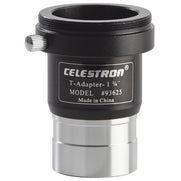
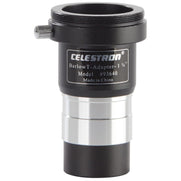
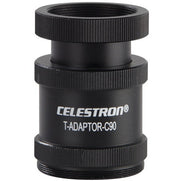
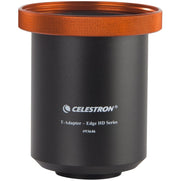
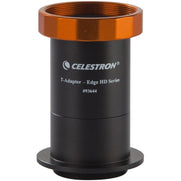
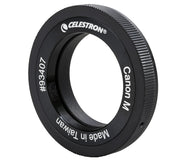
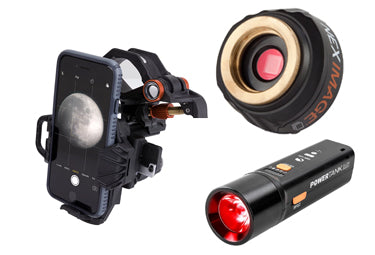
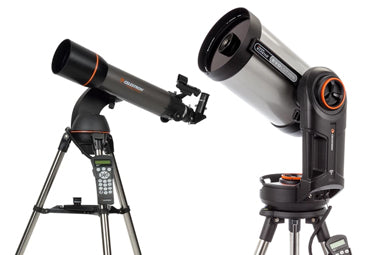
The Moon and bright planets are popular telescopic photography targets. You can attach your DSLR camera to any telescope with a 1.25-inch focuser with a 1.25-inch T-adapter or a T-adapter to couple a camera directly to the Cassegrain focus of Schmidt-Cassegrain or Maksutov telescopes. You can also add a Barlow lens for higher magnification.
When photographing large areas of the bright Moon, use a lower ISO to reduce the DSLR’s inherent high-ISO image graininess. The camera’s internal light meter can control exposure time as you monitor the resulting image on the camera’s preview screen and adjust exposure times as necessary.
Although the Moon is a celestial object, we can treat the full disk of the Moon as if it were a daylight-illuminated terrestrial target. Through an F/10 telescopic optical system at ISO 400, lunar exposures will be in the 250th to 500th-second range. For full-disk images of the Moon, set the exposure to properly record the bright limb of the Moon. The dark, more shadowed areas near the day-night terminator will be under-exposed. Still, it is easier to brighten shadow areas with image processing than to recover detail in overexposed saturated regions along the bright lunar limb.
For planetary photography, significant amounts of black sky surround your planetary target, and a DSLR auto-exposure light meter will try to expose the dark scene, greatly overexposing a planet. To combat this, experiment to find the proper planetary exposure. For Jupiter, reveal the planet’s alternating light and dark cloud belts. For Saturn, try to preserve the subtle cloud belts while not overexposing the ring structure.
A remote shutter release is mandatory for lunar and planetary photography as touching the camera shutter will induce image shake, blurring the image. Similarly, digital cameras employing a flip-up mirror to relay the image to an optical viewfinder will experience image shake due to “mirror slap” as the mirror flips up before the exposure. After framing the image, use the camera’s mirror lock-up setting to raise the mirror before the exposure and allow several seconds for telescope vibrations to dampen out.
Lunar and Planetary Photography with a Planetary Video Camera
The preferred method for high-resolution lunar and planetary photography is a 1.25-inch planetary video camera like the NexImage 5 or NexImage 10. The advantage of a planetary video camera is that it can quickly take several thousand short-exposure video frames, which you can process with free software like RegiStax or Autostakkert3! The software selects and stacks the best images in the video stream and outputs a higher resolution image than possible with a single video exposure or frame from a DSLR.
Planetary video cameras do not use the familiar ISO scale to gauge camera sensor sensitivity to low light. Instead, the camera operating software has an adjustable “Gain” parameter that varies the sensor’s apparent sensitivity. There is no direct correlation between a specific ISO sensitivity and the gain settings for a particular planetary camera. A good starting point is to set the camera control program’s gain sensitivity slider bar at mid-level, then adjust the exposure time as needed to achieve correct exposure.
When imaging the Moon, three parameters affect the exposure time for each video frame. The first is the aforementioned gain setting. For a given target, the higher the gain, the faster the required shutter speed. However, as with higher ISO settings on a DSLR, a higher gain setting with a planetary camera can lead to a “grainier” image due to increased electronic image noise. Experience will determine where the balance lies with your camera system between gain setting and image quality.
Naturally, the target’s brightness affects shutter speed, and typically lunar imaging with telescopic systems operating between F/10 or F/20 with a Barlow will use shutter speeds between 1/100th and 1/400th of a second. The best way to judge exposure is to use the live histogram function in the camera control program. The key is to set the exposure so the right side of the histogram curve does not contact the far right side of the histogram scale. If the histogram bumps against the right side, the brightest details are saturated to white, and no amount of image processing can recover the detail.
The third exposure-limiting parameter with a planetary camera is the frame rate vs. the shutter speed. Depending on how much of the camera sensor’s image area is being recorded, frame rates can be as high as several hundred frames per second. Typically, with a fast USB3 connection, planetary cameras imaging large areas of the Moon operate at about 60 full frames per second. When recording the smaller ball of a planet, an option is to crop a “region of interest” and only record the view around the planet, not the vast black space around the planet. When recording the smaller “region of interest,” frame rates as high as several hundred per second are possible. However, using a shutter speed faster than the reciprocal of the frame rate is impossible. You cannot record 1/100th-second exposures if the frame rate is 200 per second. The exposure time must be same, or shorter, than the reciprocal of the frame rate interval.Thus, you may need to adjust the gain setting to allow good exposure with faster frame rates to achieve sufficient exposure at high frame rates. You can adjust this setting on the fly by monitoring the live preview image on-screen.
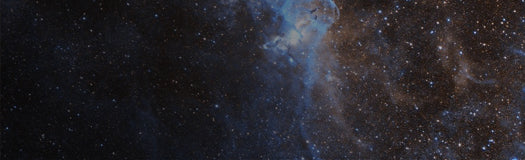
Deep-Sky Telescopic Astrophotography
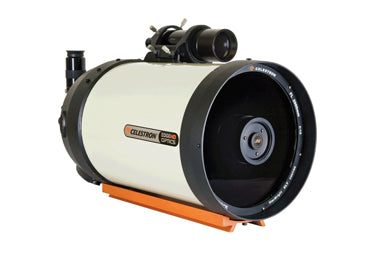
Long-exposure deep-sky photography through a telescope offers a wide range of possibilities, each having different exposure requirements. For instance, a Celestron 8” EdgeHD telescope can image at four different focal lengths:
- Pair with a 3X Barlow to achieve a 6000mm focal length for Lunar and Planetary portraits
- Operate at its native f/10 2000mm focal length with a full-frame DSLR to image galaxies and star clusters
- Use a .7X focal reducer to image larger nebulae at 1400mm focal length
- Use the telescope’s Fastar capabilities and the aftermarket Starizona Hyperstar adapter to operate as an F/2 400mm focal length astrograph
The 8” EdgeHD’s comprehensive focal length options present different exposure options. For instance, a target that crowds the frame at a 2000mm focal length will nest in the middle of a wide-field view at a 400mm focal length, but the exposure times to achieve a similar photographic exposure will be vastly different. If a target requires 30 minutes cumulative stacked subframes to achieve good exposure density at F/10, using a .7X focal reducer cuts the total F/7 exposure to only 15 minutes. Using the Hyperstar accessory at F/2 requires just under one minute to achieve a similar exposure density as the 30-minute F/10 exposure.
Today, very aggressive multi-bandpass light pollution filters allow the urban astrophotographer to achieve color deep-sky photographic results that surpass what could be achieved under truly dark skies previously. The individual performance of each type and brand of filter, the camera used, the target you are imaging, and the ambient sky conditions create differing exposure requirements. Experience will quickly reveal if you need more or less exposure, with the camera’s histogram function providing guidance. Again, the peak of the histogram should not extend past 1/3 the way from the histogram’s left boundary.
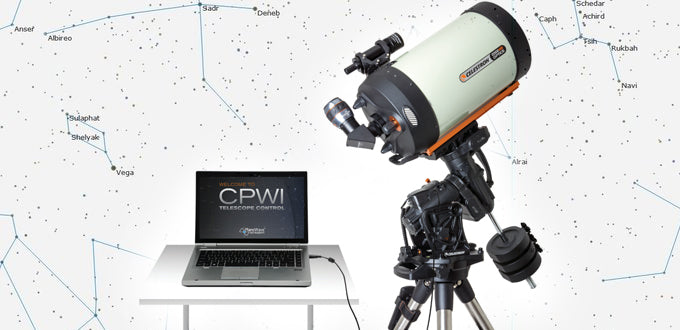
Maximum exposure time also depends on the type of telescope mount used to track the stars. Today’s autoguider cameras and the popular PhD2 autoguiding software will accurately guide both alt-az and polar-aligned equatorial mounts and keep the guide star accurately centered in the camera’s field. If you have a Celestron telescope, experience pointing precision with Celestron’s StarSense Autoguider. This all-in-one autoguiding solution makes using your telescope for astroimaging easier and more rewarding than ever. Celestron StarSense Autoguider enhances your mounts pointing accuracy and help you create sharp, long-exposure images with ease. Learn more about StarSense Autoguider.
Remember, altazimuth mounts have an inherent trait that makes them useless for long-exposure astrophotography. The sky naturally rotates in a circle around the celestial pole. An alt-az mount tracks a target in the sky by moving in up/down, left/right motions instead of moving in a continuous arc to match the movement of the guide star. The net result is that the guide star remains centered in the photo, but all stars around the center appear to swirl around the middle of the photo like a classic star trail image centered on Polaris. This effect is called “field rotation” and limits alt-az-tracked exposures to a few seconds before field rotation is recorded. If you want to do long exposures with an alt-az mount, you’ll need to add an optional equatorial wedge.
Polar-aligned and autoguided equatorial mounts allow overall exposure times limited only by the target’s visibility in the sky. Of course, the total exposure will be the sum of many separate subframes, each exposed just long enough to produce the desired histogram peak 1/3 the way from the left side of the histogram scale, or image noise limits the exposure length.
Popular Freeware for Camera Control and Image Stacking
- RegiStax - An image stacking program with powerful wavelet image sharpening tools
- AutoStakkert3! – A popular image-stacking program
- Firecapture - An alternative “astronomy intuitive” planetary camera control program
- PhD2 - A telescope autoguiding program
- Deep Sky Stacker - A popular image-stacking program for DSLR and astronomy cameras