


How do I install the SkyScout drivers and update software for my Windows 7 32-bit operating system?
March 11, 2010
Your SkyScout update program will work with Windows 7 32-bit operating systems. Here’s how to do it:
Note: Please read these instructions thoroughly before installing the SkyScout drivers and software. The appearance of your screens may differ from those seen here, but should be very similar.
(If you have already tried to install either the drivers or the update software, the procedure is similar. You may not be prompted by Windows because the SkyScout has already been plugged in, but you can still go into Device Manager and update the drivers as described here. If the update software has already been installed, after installing the drivers you may need to reboot your computer before SkyScout will connect with the update program.)
1. You will tell Windows where the SkyScout driver is and install it. Second, you will install the update software. Finally you will get SkyScout to connect with your PC. The actual firmware update procedure is covered elsewhere in the Knowledgebase.
Plug in the USB cable to the SkyScout. Then plug the USB cable into your PC.
Turn on the SkyScout. A balloon will appear saying “Drivers installing” then “Device driver software was not successfully installed”
Click on Start – Computer – System Properties – Device Manager. 


A list of devices connected to your computer will appear. Look under “Other devices”. You will see “Celestron SkyScout Device” with a yellow alert symbol. 
Minimize but don’t close the Device Manager window.
Now insert the SkyScout CD. A window comes up with options to run a program or to browse for files. RunStartMe.EXE is automatically highlighted.
Don’t choose either one just yet. Minimize but don’t close this window.
Go back to the Device Manager window. Right click on Celestron SkyScout Device.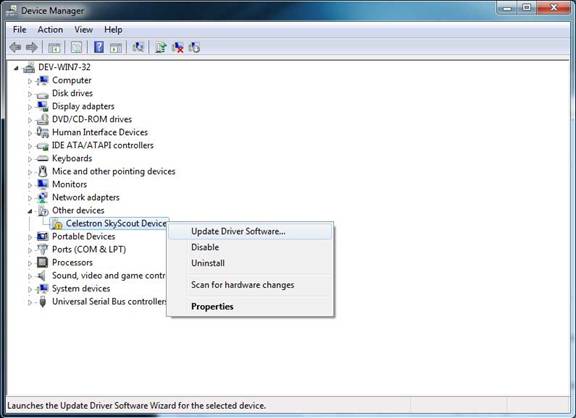
Select “Update Driver Software”. Now you will tell Windows 7 just where to find the drivers since it could not do it itself. 
Click on “Browse my computer for driver software”.

Browse for the CD. Click OK. Browse for the folder “USB Drivers.” Click OK.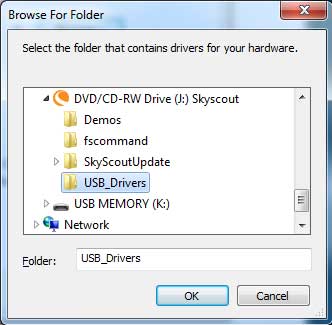
You are now back at the Update Driver Software window. Verify that it shows the folder you just selected. Click Next. 
Now Windows will search this folder for the SkyScout drivers.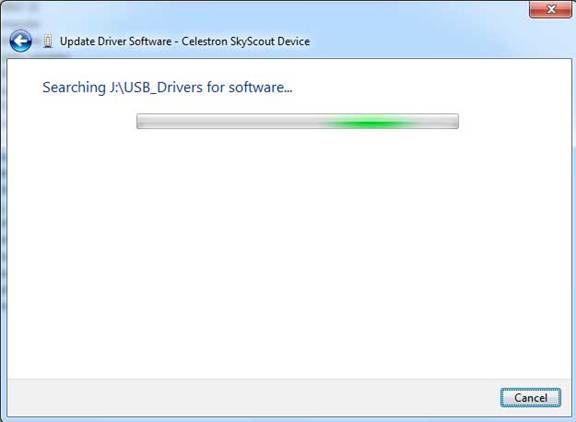
Next a warning window will appear, “Windows can’t verify the publisher of this driver." Click “Install this driver software anyway."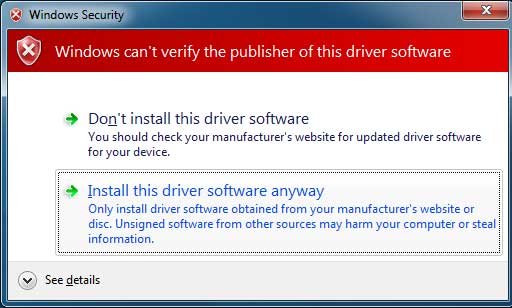
The drivers will be installed.
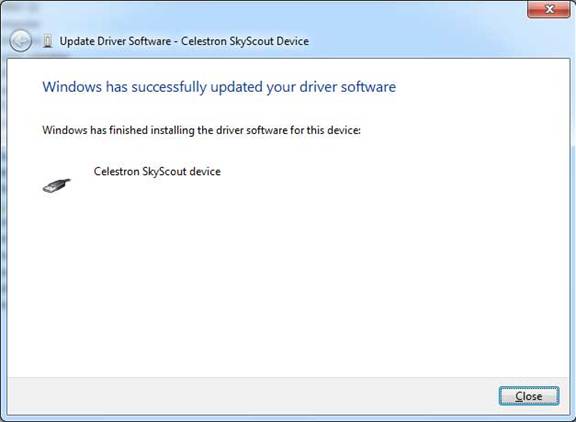
Finally a window will come up confirming that SkyScout drivers are installed on your PC. Click Close.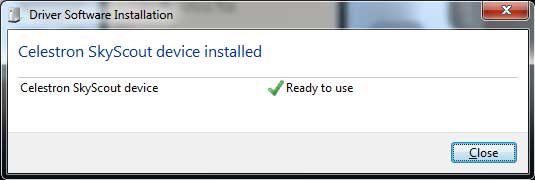
Now you will install the SkyScout update program. Maximize the CD window. This time do click on “Run StartMe.EXE.”
The SkyScout splash menu comes up.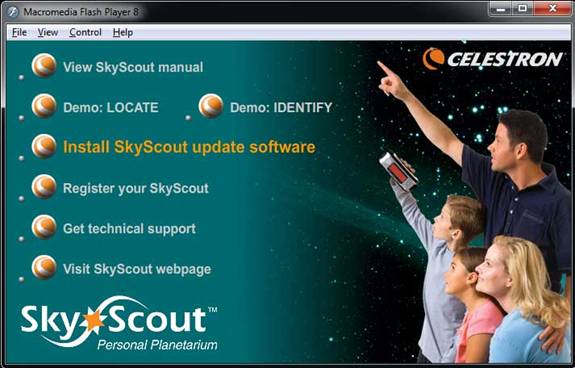
Click on “Install SkyScout update software,” When the message “Do you want to allow the following program to run?” Click Yes and follow the prompts, clicking Yes until you come to Finish.
Confirm the installation by going to the Start menu and running the program.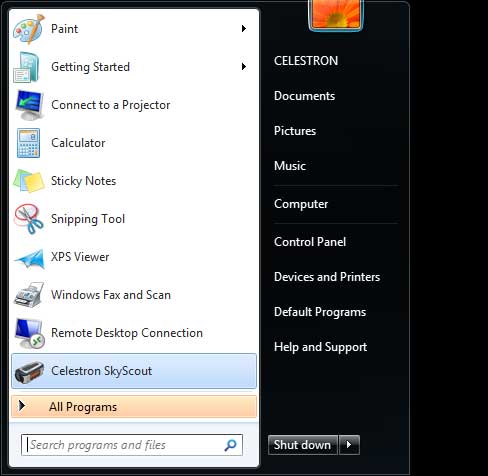
When the program comes up, it will say “SkyScout not connected” since the SkyScout has powered off while you were busy finding and installing the drivers and software. 
Turn on the SkyScout.
Windows will pop up a balloon “Looking for drivers.” The balloon’s message will change to ”Celestron SkyScout device installed, ready to use." Now your SkyScout is connected and ready to update.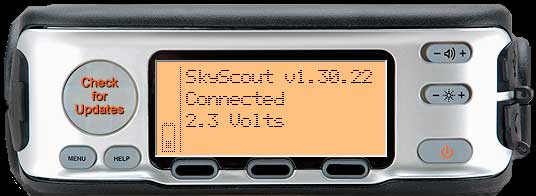
Updated 12/25/13